We are in a whole new territory this Christmas. Our children informed us a couple months ago that the jig was up. That they knew the secret. Our cover had been blown. The era of Santa was over.
Is it awful to say that I was happy to hear it? For years I have been losing credit for some pretty awesome gifts. Not to mention that I have been forced into deciding what was from us (the parents) and what was from Santa (the deadbeat), and it’s not like Santa was helping cover the costs of new bikes and video games.
Oh, and the elf. “Melvin” was his name. He no longer sits on our shelf. He no longer has to move around mysteriously for a whole stinking month. I no longer have to explain why Melvin has been sitting in the bread basket for three days (he’s a carb lover). My husband and I have talked about hog-tying Melvin and marching him to his unfortunate end. We probably won’t, but he deserves it either way.
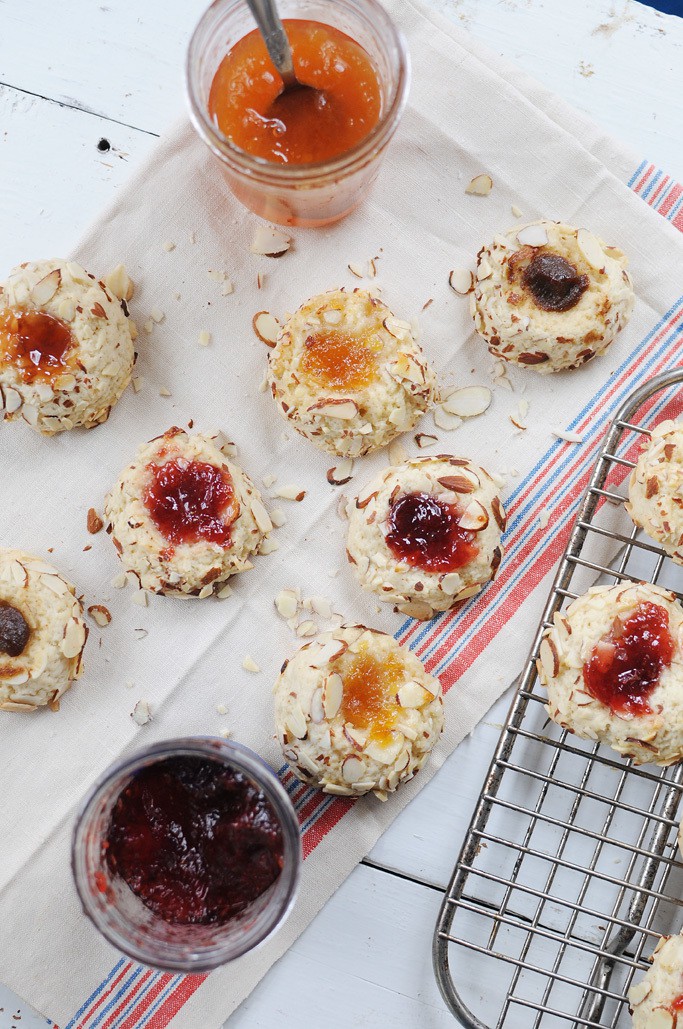
The really great thing about this new and more honest era is that the Christmas spirit is still here. The kids still enjoy putting up the tree and the decorations. They still make out their lists and they still love to help make Christmas cookies. It has been so much less stressful already. And just because Santa’s sun has set doesn’t mean that there won’t be a plate of cookies and milk left out for our effort. These thumbprint cookies will do nicely.

Ingredients
- ¼ cup butter softened
- ¼ cup shortening
- ¾ cup sugar
- 1 egg
- 1 teaspoon vanilla extract
- 2 2/3 cup all purpose flour
- ½ teaspoon salt
- ¼ teaspoon baking powder
- ¼ teaspoon baking soda
- ½ cup sour cream
- ¾ cup chopped sliced almonds
- ½ cup fruit preserves
Instructions
- Preheat the oven to 350 degrees. Line two baking sheets with parchment paper. Set aside.
- In a mixer, cream the butter, shortening and sugar together until fluffy, about 3 minutes. Add in the egg and vanilla and beat until well combined.
- In a small bowl, stir together the flour, baking powder, baking soda and salt. Alternate adding the flour mix and the sour cream to the egg mixer and then stir until you have a soft dough (it should look like sugar cookie dough).
- Roll the dough into 1 inch balls then roll each ball in the nuts to coat them. (Tip: wet hands will keep the dough from sticking to you as you roll them up). Place the cookies two inches apart on the prepared pans. Using a wooden spoon handle or your pinky (or your thumb if you have tiny handmake a ½ inch deep indent in the middle of each cookie. Fill the indent with preserves and then bake for 15-20 minutes or until the cookies are lightly brown. Remove to a wire rack to cool.


Leave a Reply